Total: $0.00
Baby can't wait?
(exclusive offer)
48 hours of research 6 minute read
Bottle feeding is a significant aspect of caring for infants, and mastering this skill involves understanding various techniques and considerations. This guide covers key topics related to bottle feeding, from paced feeding methods to addressing common challenges, and the importance of maintaining hygiene through sterilizing bottles.
Paced bottle feeding is a method that replicates breastfeeding, ensuring a more natural and comfortable feeding experience for infants.
Technique:
Benefits:
Components of Paced Feeding:
Tools for Paced Bottle Feeding:
Benefits of Paced Bottle Feeding:
Baby Rejects the Bottle:
Baby Shows Signs of Frustration:
Difficulty Establishing a Rhythm:
Possible Causes:
Solutions:
Concerns:
Preventive Measures:
Gradual Transition:
Professional Guidance:
Peer Support:
A self-feeding bottle is designed to encourage a baby to hold and manipulate the bottle independently.
Features:
Benefits:
Side-lying bottle feeding involves positioning the baby on their side during feeding.
Technique:
Benefits:
Sterilizing bottles is a vital step in ensuring your baby's health. Newborns and infants have developing immune systems, making them more susceptible to infections and illnesses. Here's why sterilizing bottles is so important:
Bottles, nipples, and other feeding equipment can harbor harmful bacteria and pathogens. Sterilization kills these microorganisms, reducing the risk of infections, particularly for babies with weaker immune systems.
Improperly cleaned bottles can lead to digestive problems in infants. Sterilization removes bacteria that can cause stomach discomfort and other health issues.
Sterilizing bottles provides peace of mind for parents. Knowing that your baby's feeding equipment is free from harmful germs can alleviate worries and allow you to focus on your child's well-being.
Now that you understand the importance of sterilizing bottles let's explore the various methods and essential items you'll need for successful bottle feeding.
There are several effective methods for sterilizing baby bottles, each with its advantages and disadvantages. The choice of method largely depends on your preferences, lifestyle, and the equipment you have at your disposal. Here are the most common methods:
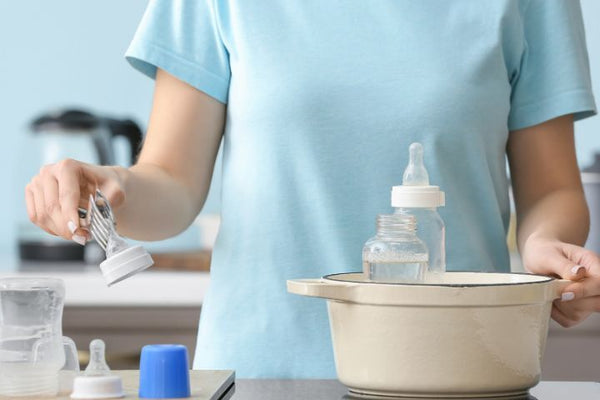
Boiling water is a simple and cost-effective way to sterilize bottles. Here's how to do it:
Pros: This method is affordable and straightforward.
Cons: It can be time-consuming, and repeated boiling might cause wear and tear on plastic bottles and accessories.
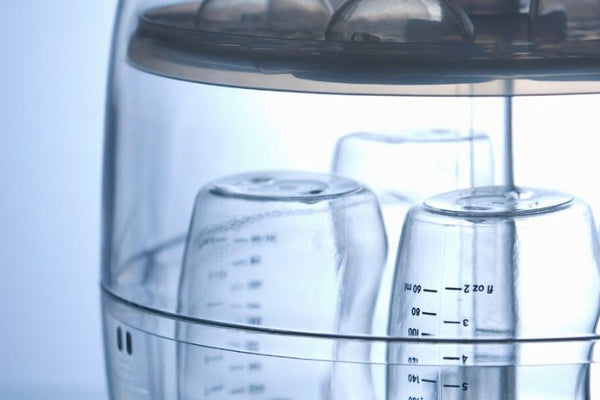
Electric steam sterilizers are convenient appliances designed specifically for sterilizing baby bottles. Here's how they work:
Pros: Electric steam sterilizers are efficient and easy to use. They typically offer quick and precise sterilization.
Cons: These devices can be relatively expensive, and you need access to electricity.
Microwave steam sterilizers provide a more affordable alternative to electric steam sterilizers.
Here's how to use them:
Pros: Microwave steam sterilizers are budget-friendly and provide fast sterilization.
Cons: You need access to a microwave, and the capacity may be limited based on the sterilizer's size.
Chemical sterilization involves using a sterilizing solution or tablets to disinfect bottles. The most common chemical sterilization method is:
Pros: This method is versatile and suitable for sterilizing items on the go, but it does require extra care in rinsing to remove chemical residues.
Cons: It can be time-consuming and may involve the purchase of sterilizing tablets or solutions.
When it comes to bottle feeding, selecting the right formula is just as important as mastering the feeding technique. The formula you choose can have a significant impact on your baby’s health, growth, and overall well-being. With a variety of options available, it can be overwhelming for parents to decide which one is best. To help simplify this decision, we’ve highlighted three popular formulas that cater to different needs and preferences. These formulas not only provide the essential nutrients your baby needs but also offer unique benefits that make bottle feeding a smoother experience.
✓ 100% Organic formula
✓ With Added Prebiotics and Probiotics
✓ HiPP's most popular formula
Check Price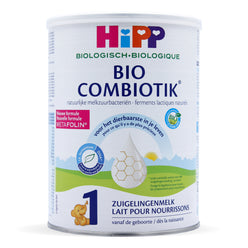
Popular With Parents Because: HiPP Dutch formula is a popular choice among parents due to its high-quality organic ingredients. Sourced from biodynamic farms, this formula is designed to be gentle on your baby’s digestive system, making bottle feeding more comfortable and reducing the risk of digestive issues. HiPP Dutch is rich in essential vitamins and minerals, ensuring your baby receives balanced nutrition with every bottle. Additionally, it contains prebiotics and probiotics to support gut health and strengthen the immune system, promoting overall well-being and making bottle feeding a positive experience for both you and your baby.
✓ Demeter certified (Organic++)
✓ Easy-to-digest Goat Milk Formula
✓ Popular for babies with sensitivity to cow's milk
Check Price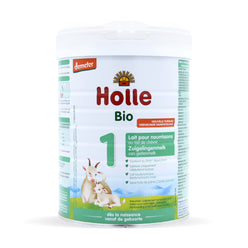
Popular With Parents Because: Holle Goat Dutch formula is an excellent alternative for babies who have sensitivities to cow's milk, often making bottle feeding a challenge. Made from organic goat's milk, this formula is easier to digest and is less likely to cause allergic reactions, ensuring a smoother feeding process. Holle Goat Dutch is packed with essential nutrients, vitamins, and minerals that support healthy growth and development. Its gentle formulation is ideal for babies with sensitive stomachs, offering a nutritious and soothing feeding experience that can help reduce fussiness and discomfort during bottle feeding.
✓ Contains Milk Fat Globule Membrane (MFGM)
✓ Vegetarian-friendly (Contains Plant-Based DHA and ARA)
✓ EU and British Soil Association Certified Organic
Check Price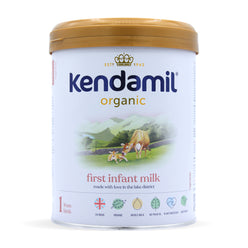
Popular With Parents Because: Kendamil Organic formula stands out due to its 100% vegetarian composition and commitment to high-quality ingredients. Produced in the UK, Kendamil Organic uses whole milk and does not contain palm oil or fish oil, making it a sustainable and ethical choice. This formula is rich in essential fatty acids, vitamins, and minerals, providing comprehensive nutrition that supports your baby’s growth and development. Kendamil’s natural ingredients ensure a wholesome feeding option that can help ease the transition to bottle feeding, making it a stress-free experience for both you and your baby.

In addition to knowing how to sterilize bottles, it's crucial to have the right feeding equipment for your baby. Here are the essential items you'll need for successful bottle feeding:
Choose bottles that are BPA-free, easy to clean, and compatible with your chosen sterilization method. It's also important to consider the size and shape of the bottle to suit your baby's age and feeding preferences.
Types of Feeding Bottles:
Nipples come in various shapes, flow rates, and materials. Opt for silicone or latex nipples, and make sure you choose the right flow rate based on your baby's age and feeding skills.
Types of Feeding Bottles:
A bottle brush is an essential tool for cleaning bottles and nipples thoroughly. Look for one with a long handle and durable bristles to reach all areas.
Choose the sterilization method that suits your needs, whether it's an electric steam sterilizer, microwave sterilizer, or chemical sterilization solution. Ensure you have the necessary equipment to keep your baby's bottles clean.
If you're using formula, a dispenser makes it easy to measure and prepare bottles on the go. Some dispensers even have compartments for multiple feedings.
A bottle warmer helps you heat your baby's milk to the desired temperature quickly and evenly. It's especially handy for nighttime feedings.
When you need to transport bottles, an insulated bottle bag keeps them at the right temperature and prevents spills.
Burp cloths are essential for keeping you and your baby clean during and after feedings. They help prevent spit-up and messes.
Invest in sterile storage containers for prepared bottles. These containers keep milk fresh and ensure your baby is getting the best nutrition.
For moms who breastfeed and bottle feed, a nursing cover provides privacy and comfort when feeding your baby in public.
High-quality formula is essential to provide infants with the necessary nutrients for their overall well-being. It serves as a valuable alternative for mothers who may face challenges with breastfeeding or as a complement to breast milk.
European Organic formulas,in particular, are gaining popularity among parents who prioritize wholesome nutrition for their babies. These formulas are manufactured using ingredients that adhere to strict organic farming standards. This means that the ingredients are cultivated without the use of synthetic pesticides, herbicides, or genetically modified organisms (GMOs). Organic farming practices also emphasize the welfare of animals, ensuring that dairy cows, for example, are raised in humane conditions.
Mastering bottle feeding involves a combination of effective techniques, addressing challenges, and maintaining hygiene through proper sterilization. By understanding paced feeding, choosing appropriate bottles, preventing prolonged feeding, and adopting innovative methods, parents can ensure a positive and nourishing experience for their infants. The importance of sterilizing bottles further underscores the commitment to the baby's health and well-being in the bottle feeding journey.
References:

Dr. Srikietr Dhana
Southlake Children's Clinic


Janay S -
I had no idea that the way we pace bottle feeding could affect my baby’s digestion so much! Definitely making some changes after reading this—thanks!
Nichole P -
I read about Electric Steam Sterilizers, but I’m not sure if it’s worth it. It’s quite expensive, but boiling water takes too long, and by the time I’m finished, I’m completely wiped out! Does anyone have firsthand experience?